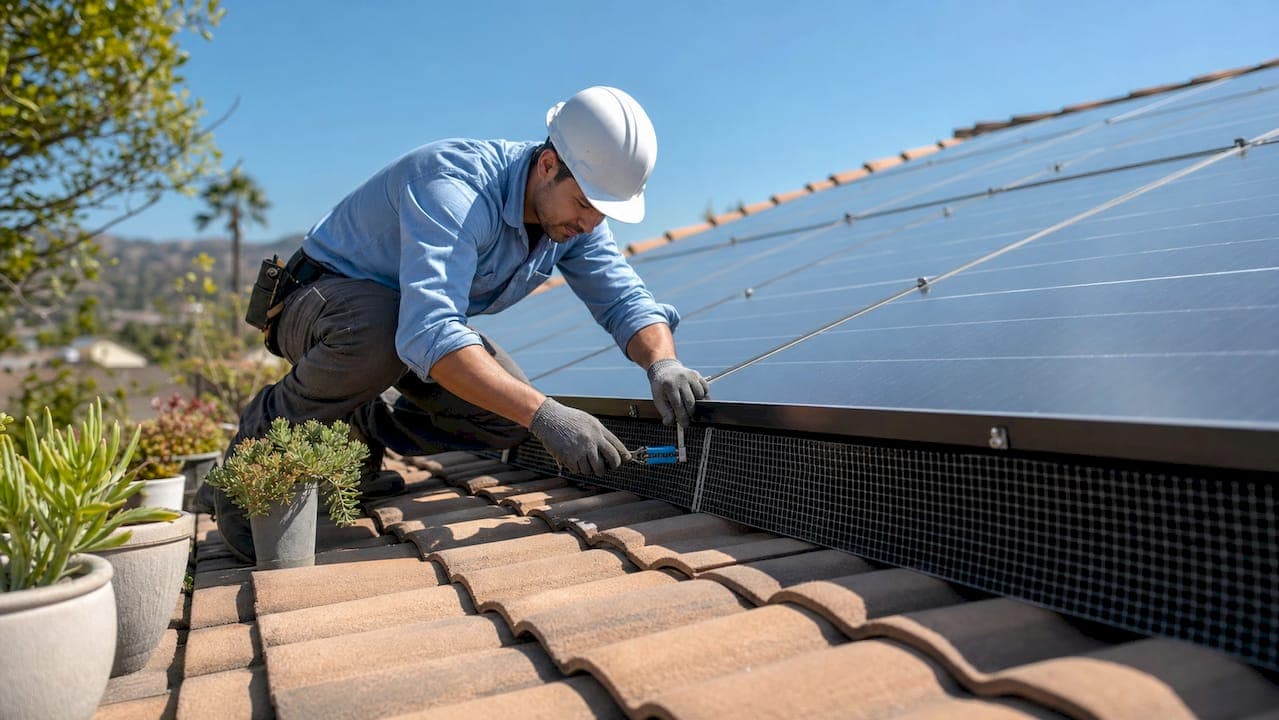
A solar panel critter guard is a mesh barrier installed around the perimeter of solar panels to block birds, squirrels, and rodents from nesting in the gap beneath your array. Most residential roof-mounted systems leave a 3–8 inch gap between the panel surface and the roof deck. That space is warm, sheltered, and nearly invisible from the ground, which makes it prime real estate for pests. A properly installed critter guard seals that perimeter without blocking airflow, protecting both your wiring and your energy output. Solaralchemist installs these barriers as part of a complete solar maintenance program for homeowners and businesses across Wisconsin.
What is a solar panel critter guard and how does it protect your system?
A critter guard works by sealing the open perimeter around your solar array with a rigid mesh screen. The mesh attaches to the panel frames and runs down to the roof surface, closing off the gap that animals use to enter. The design allows air to pass through freely while physically blocking any creature large enough to cause damage.
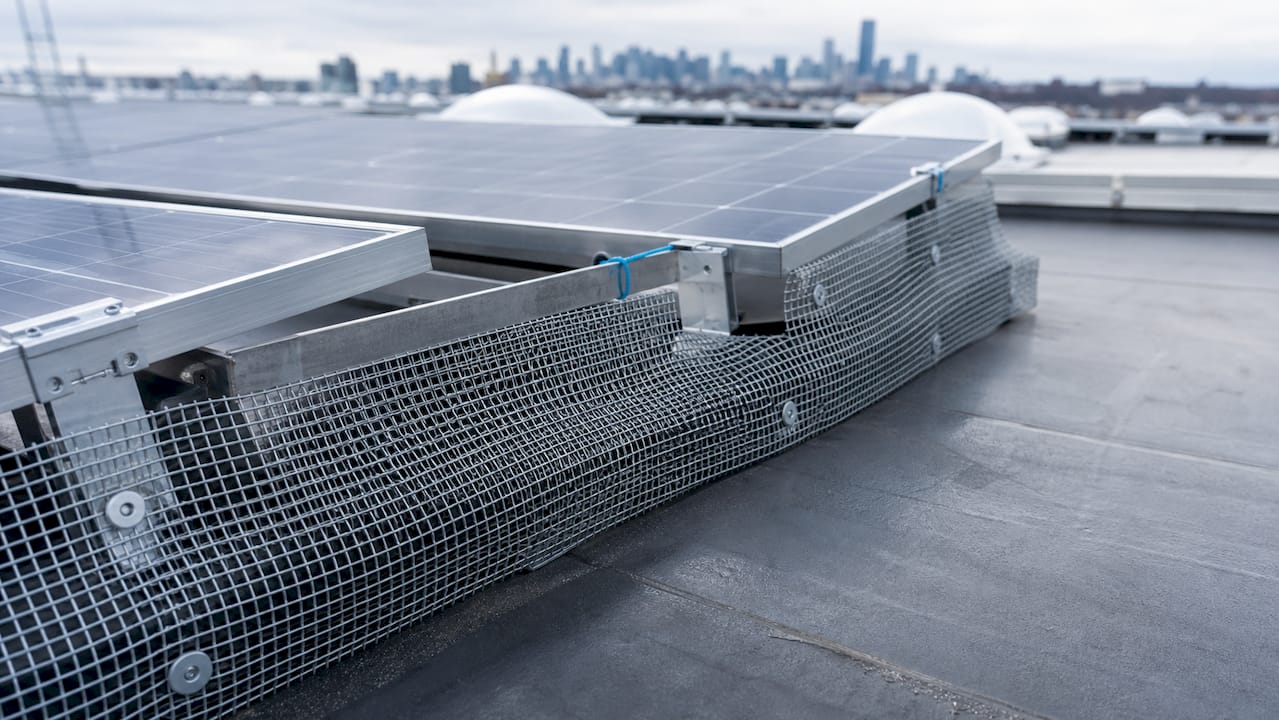
The protection goes well beyond keeping birds out of sight. Squirrels and rodents chew through wiring insulation, which causes system failures and, in serious cases, electrical fires. Critter guards block rodent access to wiring beneath the panels, making them a genuine fire-prevention tool, not just a pest deterrent. That distinction matters when you are weighing the cost of installation against the risk of a wiring repair or a roof fire.
Debris accumulation is the second threat the mesh addresses. Nesting materials, leaves, and animal droppings pile up under panels and restrict the airflow that keeps them cool. Proper airflow under panels directly supports energy output because solar cells lose efficiency as temperature rises. A critter guard keeps that channel clear year-round.
Pro Tip: If you notice bird droppings on the edges of your panels or hear scratching sounds from your roof in the morning, animals have likely already moved in. Schedule an inspection before installing a guard, not after.
What materials and designs are available for critter guards?
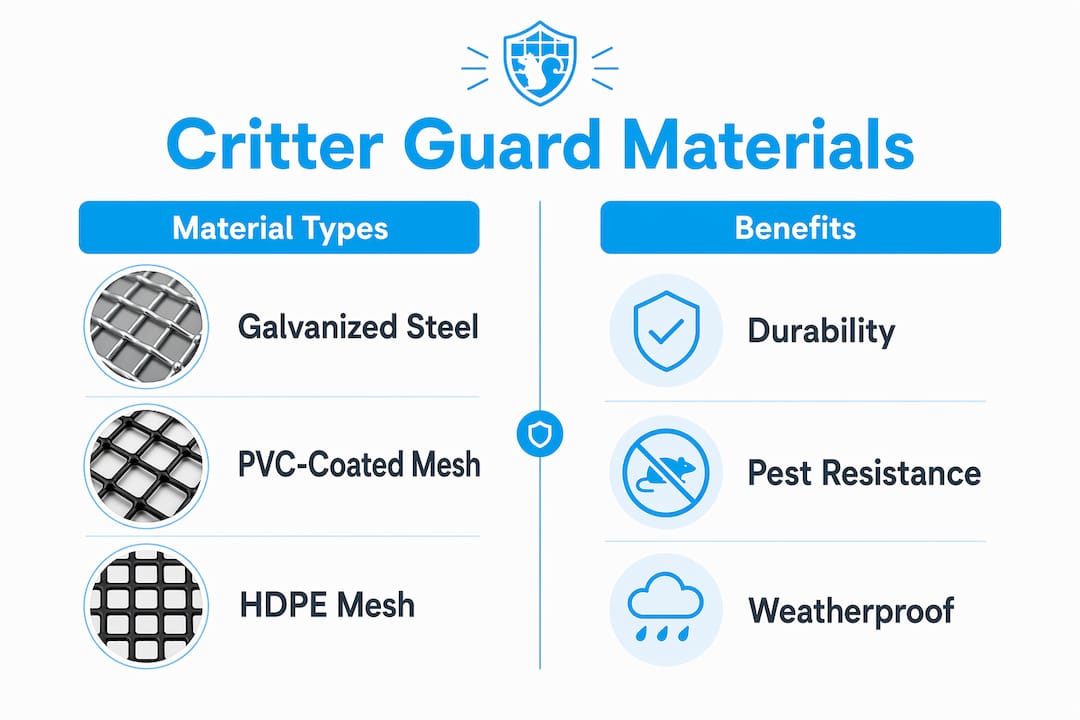
The material you choose determines how long your critter guard lasts and how well it holds up against persistent pests. Three main options exist in the market today.
Galvanized steel mesh is the most common choice for standard installations. It resists rust and holds its shape under pressure from larger animals like squirrels. PVC-coated galvanized steel mesh is the preferred upgrade. The PVC layer adds weather resistance and makes the mesh harder to chew through. PVC-coated steel mesh lasts 10+ years and outperforms plain aluminum or plastic alternatives in durability tests. Aluminum mesh is lighter and easier to cut, but it bends more easily and offers less resistance to determined rodents.
Mesh aperture size matters as much as material. A 1/2-inch opening is the standard for most residential installations. It stops sparrows and small rodents while still allowing airflow. Anything larger lets mice through; anything smaller risks restricting ventilation.
Professional-grade systems also use UV-stabilized HDPE mesh and clip systems designed to blend visually with the panel frame. From the ground, a well-installed guard is nearly invisible. That matters for homeowners who care about curb appeal and for commercial properties with visible rooftop arrays.
| Material | Durability | Pest resistance | Best for |
|---|---|---|---|
| Galvanized steel mesh | High | Good | Standard residential use |
| PVC-coated steel mesh | Very high (10+ years) | Excellent | Long-term or high-pest areas |
| Aluminum mesh | Moderate | Fair | Low-pest, budget installs |
| UV-stabilized HDPE | High | Good | Aesthetic-focused installs |
Pro Tip: Always ask for PVC-coated mesh if you live in an area with heavy squirrel activity. Plain galvanized mesh will hold for a few years, but squirrels will eventually work through it at the seams.
What does the professional installation process involve?
Professional installation follows a three-step process that most DIY attempts skip entirely, and those skipped steps are exactly where problems start.
-
Humane eviction and debris removal. Before any mesh goes up, a technician inspects the underside of every panel for active nests, eggs, and animals. Nests are removed humanely and disposed of properly. This step is not optional. Trapping nesting material under a new mesh creates localized heat buildup that can damage panels and, in worst cases, start a fire.
-
Roof and panel sanitization. Animal droppings contain uric acid, which corrodes metal components over time. After eviction, the area beneath the panels and the roof surface around the perimeter gets a thorough cleaning. Solaralchemist uses professional-grade deionized water systems for this step, which removes biological residue without leaving mineral deposits on panel surfaces.
-
Mesh installation with non-penetrating clips. The mesh attaches to the panel frames using clip-on hardware, typically J-hooks or C-clips, that grip the frame without drilling. Non-penetrating clip attachments preserve the panel manufacturer's warranty. Drilling into the frame voids most warranties immediately. This is the single most common DIY mistake, and it is entirely avoidable with the right hardware.
The full process for a standard residential system typically takes two to four hours. The result is a sealed perimeter that requires no routine adjustment and holds up through Wisconsin winters without issue. Homeowners who treat this as a one-afternoon DIY project often skip the cleaning step and use screws instead of clips, creating two new problems while solving one.
What are the benefits and cost considerations of installing a critter guard?
The financial case for critter guards is straightforward. Professional installation costs $8–$15 per linear foot, with total residential project costs ranging from $500 to $2,500 depending on system size. A single wiring repair caused by rodent damage can easily exceed that range, and it does not include the cost of lost energy production during the downtime.
The benefits extend across three categories:
- Energy efficiency. Clear airflow under panels keeps operating temperatures lower. Cooler panels produce more power. A blocked underside is a slow, invisible drain on your system output.
- Fire and wiring safety. Rodents chewing through wiring insulation is a documented cause of residential solar fires. Critter guards reduce maintenance frequency and the risk of animal-induced system failures significantly.
- System lifespan. Panels that run cooler, stay cleaner underneath, and avoid physical damage from nesting animals last longer. Pairing a critter guard with a solid solar panel maintenance routine is the most cost-effective way to protect a long-term investment.
The cost difference between material grades is worth noting. A PVC-coated steel mesh installation costs more upfront than a basic aluminum option, but the 10-plus-year lifespan means you will not be reinstalling in five years. Cheap materials save money once and cost money twice.
One consideration that homeowners often overlook: critter guard installation does not replace regular panel cleaning. Debris still lands on top of the panels, and bird droppings still accumulate on the glass surface. The guard protects the underside. Cleaning addresses the top. Both are part of a complete protection plan.
Key Takeaways
A solar panel critter guard is the most cost-effective single step a homeowner or business can take to prevent animal-caused wiring damage, energy loss, and fire risk beneath their solar array.
| Point | Details |
|---|---|
| Core function | Mesh barriers seal the 3–8 inch gap under panels to block birds, squirrels, and rodents. |
| Best material | PVC-coated galvanized steel mesh lasts 10+ years and resists chewing better than aluminum or plastic. |
| Installation method | Use non-penetrating clip-on hardware to avoid voiding the panel manufacturer's warranty. |
| Pre-install cleaning | Remove all nests and droppings before sealing the perimeter to prevent trapped heat and fire risk. |
| Cost vs. repair | Professional installation runs $500–$2,500 total, far less than a single rodent-caused wiring repair. |
Why I consider critter guards non-negotiable for any rooftop solar system
I have seen what happens when a homeowner skips this step. A squirrel colony under a 10-panel system in Dane County had chewed through three wiring harnesses over two winters. The repair bill was more than $1,800, and the system was offline for nearly two weeks. The homeowner had no idea anything was wrong until their utility bill spiked.
What strikes me most about that situation is how preventable it was. A $700 critter guard installation would have closed the gap before the first animal moved in. Instead, the homeowner paid more than double that to fix damage that should never have happened.
The part that most articles miss is the cleaning step. Installers who skip eviction and debris removal before sealing the mesh are locking in a fire hazard. I have seen nesting material packed so tightly under panels that it was touching the wiring. Sealing that in with mesh does not solve the problem. It makes it worse.
My honest recommendation: treat critter guards as standard equipment, not an optional add-on. Every rooftop solar system in a region with squirrels, starlings, or pigeons needs one. The benefits of professional solar maintenance compound over time, and critter guard installation is one of the highest-return steps in that program. Do it once, do it right, and your system will thank you for the next decade.
— Marquis
Solaralchemist protects your solar investment from the ground up
Solaralchemist specializes in solar panel cleaning and maintenance for homeowners and businesses across Madison and the surrounding Wisconsin communities. The team handles every step of animal protection, from humane eviction and deep cleaning to professional critter guard installation using clip-on hardware that preserves your panel warranty.

If you are not sure whether your system needs attention, the signs you need a cleaning guide is a practical starting point. Solaralchemist uses professional-grade deionized water systems and specialized equipment to keep your array producing at full capacity year-round. For commercial arrays, the commercial solar cleaning service includes a 24-hour bid turnaround. Protecting your solar investment starts with one call.
FAQ
What is a critter guard for solar panels?
A solar panel critter guard is a mesh barrier that seals the gap between solar panels and the roof, blocking birds, squirrels, and rodents from nesting underneath. It maintains airflow while preventing animal-caused wiring damage and debris buildup.
How much does solar panel critter guard installation cost?
Professional installation typically costs $8–$15 per linear foot, with total residential project costs ranging from $500 to $2,500 depending on system size.
Will a critter guard void my solar panel warranty?
A critter guard installed with non-penetrating clip-on hardware will not void your warranty. Drilling into panel frames to attach mesh is the installation method that voids most manufacturer warranties.
What is the best material for a solar panel critter guard?
PVC-coated galvanized steel mesh is the industry standard. It resists chewing, handles harsh weather, and lasts more than a decade, outperforming plain aluminum or plastic mesh options.
Do critter guards affect solar panel performance?
Critter guards improve performance over time by keeping the underside of panels clear of nesting debris and maintaining proper cooling airflow. A blocked underside raises panel temperature and reduces energy output.